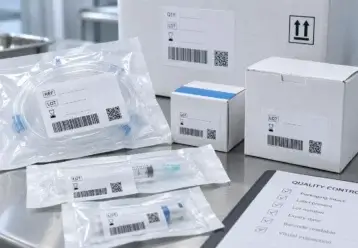
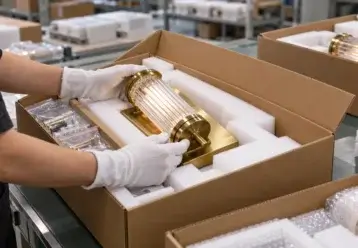
Before the lighting ships, compare the real production goods with the final approved drawing, sample, BOM, finish, dimensions, voltage, driver, LED board, CCT, dimming setup, mounting parts, safety requirements, and packing. Open selected fixtures, test every function, measure the dimensions that affect installation, and compare lights that will be used together. If you find the wrong part, a safety issue, or the same defect more than once, check how much of the batch may be affected before releasing the shipment.
Approved Inspection Pack
The inspector should work from the final approved files:
- shop drawings;
- golden sample or approved production sample;
- product specification;
- bill of materials (BOM);
- finish sample or finish code;
- LED and driver specification;
- CCT and CRI requirements;
- dimming specification;
- voltage and frequency;
- installation drawings;
- packaging specification;
- required test and compliance documents.
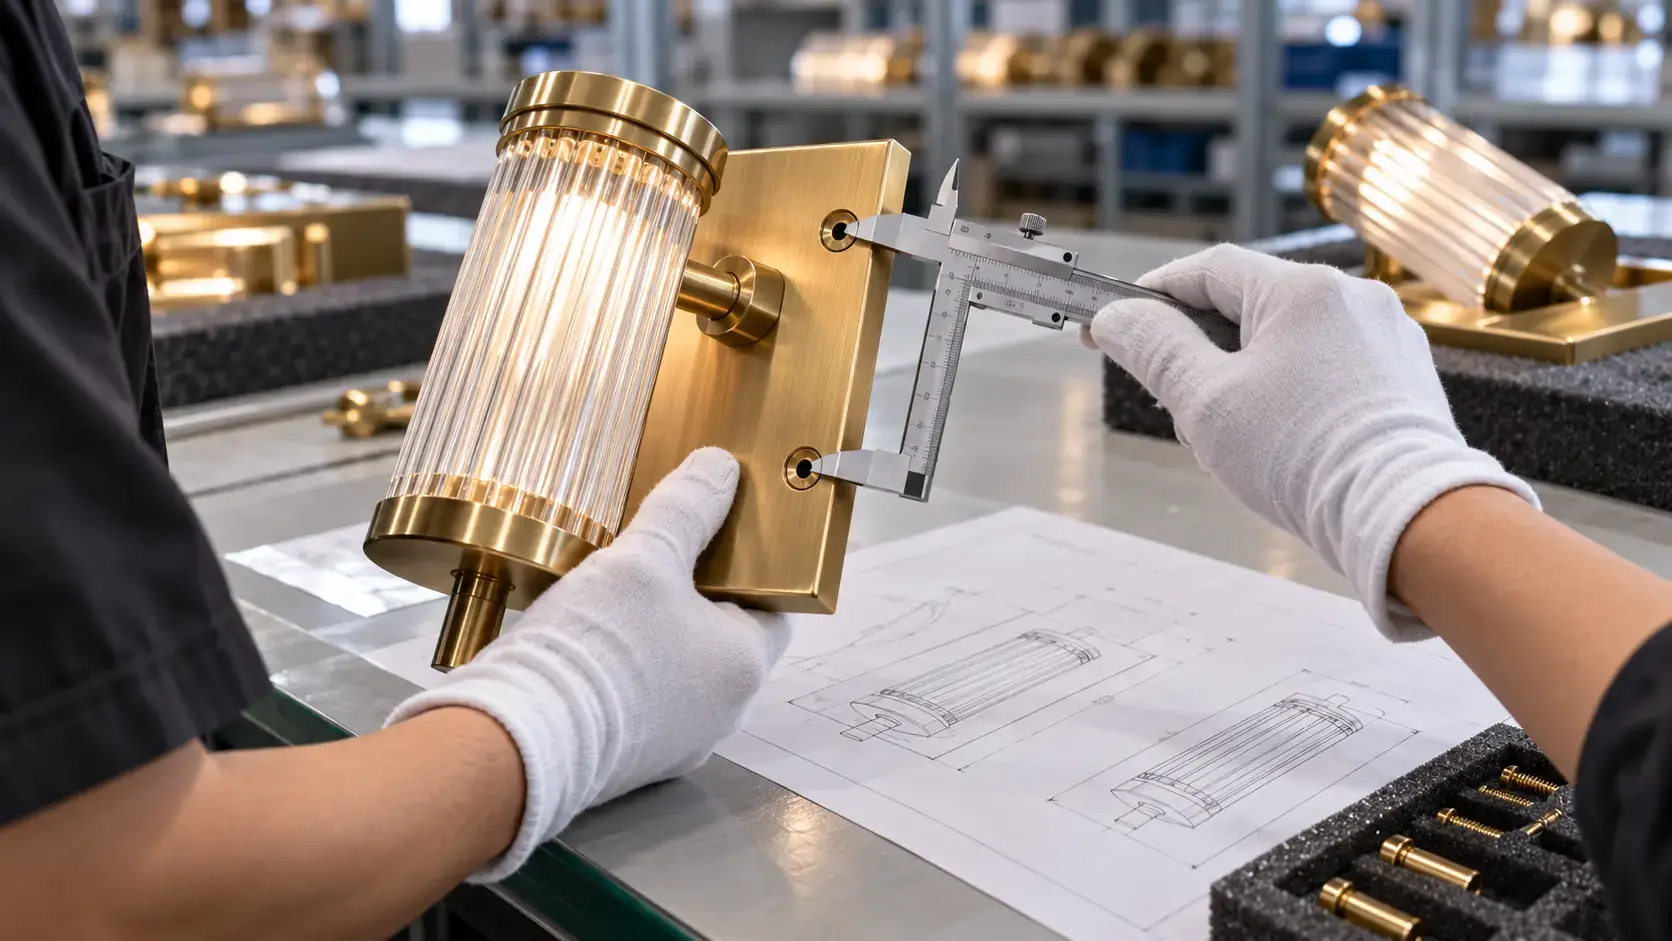
Check the revision number first. If Drawing Rev. A shows a 120 mm backplate but Rev. C was later approved at 135 mm, use 135 mm for inspection.
If the latest drawing and approved sample do not match, record the difference and get confirmation before passing that item. These conflicts are easier to find during a pre-production inspection, before the wrong version is used across the full order.
| Item | Approved Example |
|---|---|
| Model | WL-102 |
| Finish | Brushed antique brass |
| Size | 320 × 180 × 120 mm |
| Input | 220–240V, 50/60Hz |
| LED | 8W integrated LED |
| CCT | 3000K |
| CRI | ≥90 |
| Driver | Approved model |
| Dimming | DALI |
| Mounting | Concealed wall bracket |
| Cable | As approved drawing |
| IP rating | As project specification |
Terms such as “good finish,” “warm white,” or “standard dimming” are too vague. Use an approved sample, exact dimension, finish reference, component model, electrical value, or agreed tolerance.
Lot and Sample Selection
Use the real finished production lot for the pre-shipment inspection. The factory should not prepare a few hand-picked units as the inspection sample.
ISO 2859-1:2026 provides sampling schemes indexed by Acceptance Quality Limit (AQL) for lot-by-lot inspection by attributes.[1] Sampling helps decide whether to accept a lot, but it does not mean every unit outside the sample has been checked.[2]
Where possible, take samples from different pallets, carton positions, production dates, and batches.
Keep different versions separate:
- 2700K and 3000K;
- 120V and 220–240V;
- left and right bedside lights;
- different finishes;
- different dimming systems;
- different approved driver setups.
If an order has 500 wall lights—300 brushed brass and 200 matte black—checking only the brass version tells you nothing about the black coating.
If 2 of 20 opened fixtures contain a part that is not in the approved BOM, changing those 2 parts is not enough. Find out when the wrong part entered production and which units may have been made during that period.
SKU and Quantity Check
Match the carton label, fixture label, product, purchase order, and packing list.
- model;
- finish;
- voltage;
- wattage;
- CCT;
- dimming type;
- left/right version;
- plug type;
- ordered quantity;
- spare quantity.
If a 180-room hotel uses one left-hand and one right-hand reading light in each room, the order needs 180 left-hand and 180 right-hand units.
If the factory packs 190 left-hand and 170 right-hand units, the total still shows 360, but 10 rooms cannot be completed correctly.
Record quantities by SKU. An order with 420 wall lights, 220 bedside lights, and 35 pendants should be reported as those three lines, not only as “675 fixtures complete.”
Finish Acceptance
Put several fixtures next to each other under the same lighting.
- brass or bronze tone;
- paint color;
- gloss;
- brushing direction;
- plating consistency;
- glass color;
- shade color;
- wood or stone appearance.
A single lamp may look fine by itself. Six of the same wall lights installed together may show a clear finish difference.
Look at the guest-facing surfaces first. Common problems include scratches, dents, pinholes, plating spots, poor polishing, welding marks, paint bubbles, exposed glue, rough edges, discoloration, and crooked joints.
A 10 mm scratch on the hidden back of a plate is not the same as a 10 mm scratch across the front of polished brass.
If the project specifies coating adhesion, cleaning resistance, corrosion resistance, or another finish test, make sure production still uses the approved finish system. This matters more for coastal hotels, spas, humid areas, and surfaces cleaned frequently.
Glass and Shade Check
Look at the glass both before and after the light is turned on.
- cracks;
- chips;
- scratches;
- unapproved bubbles;
- uneven frosting;
- dirt inside the glass;
- glue marks;
- color differences;
- poor fit;
- visible LED hotspots.
Then check how the glass is held. Missing rubber washers, screws pressing directly on glass, uneven clips, sharp metal contact points, or too little clearance around holes can put stress on the glass.
A shade can show no crack during inspection and still be fitted too tightly. Transport vibration or installation can expose that problem later.
For fabric shades, check the fabric code, color, seam, frame, size, stains, wrinkles, glue, diffuser, and final position. Turn the lamp on and look for dark seams, frame shadows, glue showing through, and uneven light.
Critical Dimensions
Measure dimensions that affect installation or the finished look.
| Fixture | Priority Measurements |
|---|---|
| Wall light | Backplate, hole spacing, projection, cable exit, switch position |
| Pendant | Canopy, body size, suspension length, cable length |
| Bedside lamp | Base, height, arm length, switch position, cord length |
| Chandelier | Overall width, height, canopy, suspension, finished weight if specified |
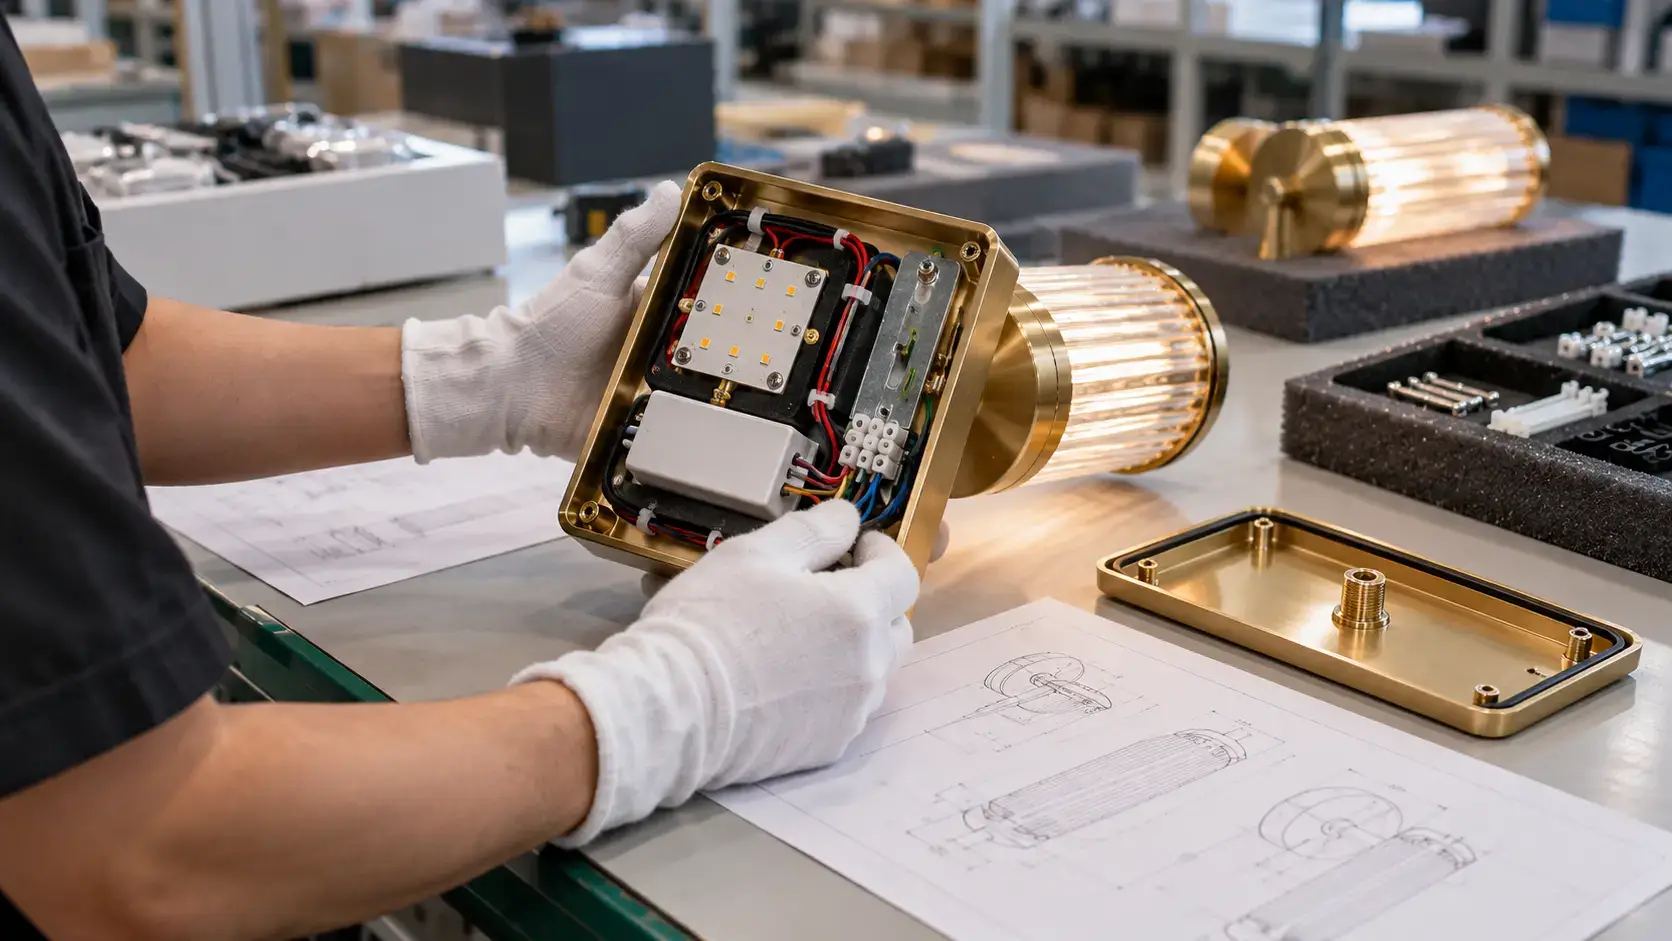
A 5 mm difference on decorative trim may not matter. The same 5 mm error in mounting-hole spacing may stop installation.
If the approved backplate is 135 mm but production is 125 mm, the 10 mm difference becomes important if the electrical opening is left visible.
If the project needs 1500 mm of pendant suspension but production cables are only 1200 mm, the missing 300 mm cannot be recovered by adjusting the canopy.
Site Interface Fit
Compare the fixture with the actual installation information where it is available.
- junction-box dimensions;
- junction-box position;
- headboard openings;
- millwork openings;
- ceiling cutouts;
- mounting substrate;
- cable-entry direction;
- remote-driver location.
If there is an approved mock-up room, use it to check bedside orientation, reading-light position, switch reach, backplate coverage, pendant height, visible cables, and clearance from furniture.
A 6 mm positioning error found in one mock-up room is usually easy to correct. If the same position is copied into 300 guestrooms first, the same small error becomes a large site problem.
Mounting Hardware Fit Test
Open the hardware pack and try the parts on a real fixture.
- mounting bracket;
- screws;
- nuts;
- washers;
- threaded rods;
- cable grips;
- canopies;
- hooks;
- connectors;
- safety cables where specified.
Make sure holes line up, screws fit, threads work, the bracket sits inside the backplate, the canopy closes, wires can pass through the opening, and decorative covers hide the hardware.
Finding four screws in the bag means little if none fit the bracket.
On a 300-room project with two wall-mounted bedside fixtures per room, one wrong bracket design can affect 600 installation points.
Suspension and Load Documents
For pendants and chandeliers, compare the suspension parts with the approved design.
- suspension cables;
- chains;
- threaded tubes;
- hooks;
- locking nuts;
- cable grips;
- ceiling plates;
- secondary safety support.
The safe load of a bracket cannot be judged by appearance. If the project calls for structural calculations, load tests, tested anchors, or engineering approval, check those records separately.
If a chandelier was approved at 48 kg but the finished unit is now 58 kg after design changes, check whether the mounting system is still suitable.
Where a secondary safety cable is required, check where it attaches and how it locks. A loose cable inside the carton is not enough.
Portable Lamp Stability
Put table lamps, floor lamps, and desk lamps on a flat surface.
- base sits flat;
- lamp does not rock;
- adjusting the arm does not make it unstable;
- shade does not make the lamp top-heavy;
- cord does not pull the lamp out of position.
Also check the plug type and rating, cord type, cord length, strain relief, cable entry, and switch position.
If an approved table lamp needs a 1.8 m cord but production uses only 1.2 m, it may work perfectly at the factory and still be too short for the hotel room.
Where a formal stability test applies, use the approved method rather than making up a tilt angle or load.
Internal Build Check
Open selected fixtures and compare the inside with the approved sample and BOM.
- loose wires;
- exposed conductor;
- damaged insulation;
- poor terminal connections;
- sharp metal edges near wiring;
- loose screws;
- poor strain relief;
- unsupported drivers;
- wrong connectors;
- poor wire routing.
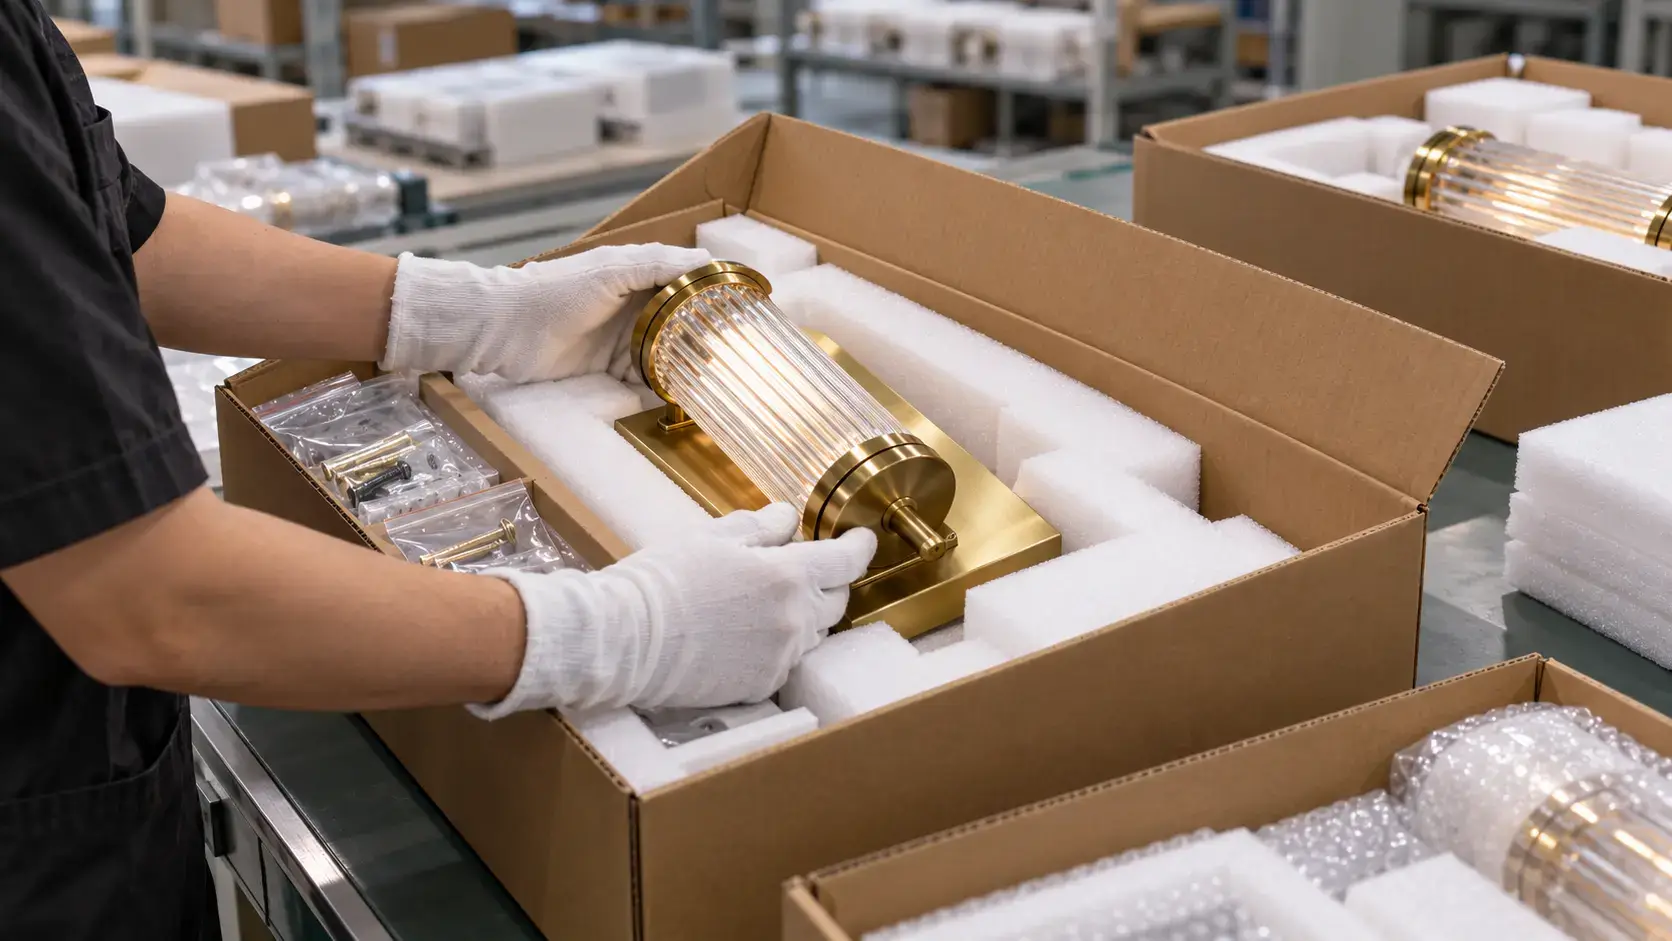
For adjustable reading lights, move the arm through its normal range. Make sure the internal wire is not pinched, cut, stretched tight, or twisted around the joint.
If the same internal mistake appears more than once, check the work instruction and assembly method. It may affect more than the sampled units.
Driver and LED BOM Match
Record the driver fitted inside the fixture:
- manufacturer;
- model;
- input voltage;
- input frequency;
- output voltage;
- output current;
- rated power;
- dimming method.
Compare those details with the approved BOM. IEC 61347-1:2024 gives general safety requirements for controlgear for electric light sources within its scope.[3]
Check the LED board as well:
- board model;
- required current;
- connector;
- polarity;
- mounting position;
- thermal contact where applicable.
A correct driver with the wrong LED board can still change power, light output, CCT, heat, and product life.
A substitute driver may fit inside the housing and still have the wrong output current or dimming behavior.
Lampholder Check
For E26, E27, G9, GU10, and other replaceable-lamp fixtures, check:
- holder type;
- holder rating;
- lamp fit;
- maximum lamp rating where required;
- clearance around the lamp;
- shade clearance;
- space for lamp replacement.
If the approved fixture uses E27 but production uses another holder, treat it as a product change. A bulb fitting into the socket does not mean the design is still correct.
Wiring and Protective Earthing
For Class I fixtures, make sure the required metal parts have a proper protective-earth or bonding path.
- earth connection is secure;
- wires are not damaged;
- terminals clamp correctly;
- required bonding parts are present;
- connections cannot easily loosen;
- paint or coating does not block a required contact point.
For Class II fixtures, compare production with the approved insulation design. No earth wire does not by itself prove the product is Class II.
If a 120V fixture is found in a 220–240V project shipment, check the SKU, carton labels, and how the two versions were separated during production and packing.
Electrical Production Tests
IEC 60598-1:2024 gives general safety requirements and tests for luminaires within its scope.[4]
Depending on the approved production plan, factory tests may include:
- protective-earth continuity;
- dielectric-strength test;
- insulation-resistance test;
- polarity check;
- functional test.
For tests witnessed during inspection, record:
- equipment ID;
- calibration status;
- test setting;
- sample quantity;
- actual result.
Use the limits already set by the applicable standard, certification file, or approved test plan.
Functional Test Sequence
Run every function included in the product.
A bedside unit may have:
- decorative light;
- reading light;
- separate switches;
- dimmer;
- touch control;
- USB charging;
- power outlet;
- sensor.
If the fixture has four functions, checking only whether the lamp turns on leaves most of the product untested.
Make sure each switch controls the correct light or outlet and follows the approved room-control setup.
Some projects keep the USB outlet powered when the lamp is off. Others do not. Test the behavior written into the project specification.
CCT and Room Matching
Where CCT is part of the inspection, measure representative fixtures and compare them while they are on.
- one fixture looks warmer or cooler;
- pink or green shift;
- clear brightness difference;
- change after warm-up.
A 2700K fixture mixed into a room specified for 3000K has a nominal difference of 300K. Put both lamps next to each other and the difference can be easier to see.
Also compare different fixtures used in the same room.
A room package may contain:
- 2 bedside lights;
- 2 reading lights;
- 1 desk or floor lamp;
- 1 bathroom or vanity light.
All six can say 3000K on the label and still look different because they use different LEDs, shades, diffusers, optics, or drive currents.
CRI and Light Output
Keep three types of evidence separate:
- supplier claim;
- LED component datasheet;
- finished-luminaire measurement.
If the project asks for CRI ≥90 on the finished fixture, a component datasheet showing CRI ≥90 is not automatically the same result.
ANSI/IES LM-79-24 covers controlled optical and electrical measurements of solid-state lighting products, including luminous flux, electrical power, intensity distribution, and color quantities.[5]
If one production unit is clearly dimmer than the others, check the driver, LED board, connection, and diffuser before passing it.
If input power is part of the specification, measure representative units. If an approved 8W fixture now uses a clearly different driver or LED load, find out why.
Dimming Test
Use the control system specified for the project:
- DALI;
- 0–10V;
- leading-edge phase-cut;
- trailing-edge phase-cut;
- PWM;
- other approved control systems.
The IEC 62386 series covers digital addressable lighting interfaces; IEC 62386-101:2022 sets general requirements for system components within its scope.[6]
Look at:
- startup;
- smooth dimming;
- specified minimum level;
- maximum output;
- fixture-to-fixture consistency;
- buzzing or other noise;
- dropout;
- visible flicker.
Where practical, test a group close to the actual project setup. One fixture may work by itself while 8 or 10 fixtures on one control channel start unevenly or behave differently at low output.
Heat and Aging
Run selected LED fixtures long enough to see whether anything unusual happens.
- driver shuts down;
- light cycles on and off;
- abnormal smell;
- discoloration;
- unusual noise;
- adhesive softens;
- parts start to deform.
If aging or burn-in is part of the factory quality plan, check:
- SKU;
- quantity;
- required duration;
- failures;
- failed component;
- repair action;
- retest result.
There is no single burn-in time for every hotel light. Use the requirement already agreed for that product.
If repeated failures come from the same component batch, check that batch rather than treating every failure as unrelated.
Moving Parts
Operate reading-light arms, hinges, swivels, goosenecks, rotary joints, and switches several times.
Look for:
- loose joints;
- poor position holding;
- pinched wires;
- twisted wires;
- noise;
- early finish wear.
If the project has a defined endurance test, use that cycle count and method.
IP Construction Check
For bathroom, spa, and outdoor fixtures with an IP requirement, compare the production build with the approved version.
- gaskets;
- seals;
- glass interfaces;
- cable glands;
- cable entries;
- covers;
- enclosure joints;
- required fasteners.
IEC 60529 defines the IP Code used to classify the degree of protection provided by enclosures.[7]
If the approved product is IP44, IP54, IP65, or another rating, make sure production still uses the same construction and the supporting evidence covers that version.
The correct IP requirement depends on installation position, project specification, and local rules.
Labels and Compliance Documents
Match the fixture label and carton label with the product inside.
- model;
- rated voltage;
- frequency;
- power;
- electrical class;
- IP rating where applicable;
- required markings;
- warnings;
- required manufacturer or responsible-party information.
If 240 wall lights are packed 4 per carton, there are 60 cartons. One wrong label file used across the packing run can affect all 60.
For EU-bound products, check the requirements that apply to the actual fixture. These may include the Low Voltage Directive, EMC Directive, and RoHS rules depending on the product and scope.[8][9][10]
CE marking is not an EU-issued third-party safety certificate. The manufacturer is responsible for identifying the applicable rules, carrying out the required conformity work, preparing technical documents, and issuing the EU Declaration of Conformity where required.[11]
For North American projects, follow the certification and local approval requirements stated in the project. OSHA’s NRTL recognized standards include UL 1598 for luminaires.[12]
Report-to-Product Match
Open the report and compare it with the product being shipped.
- manufacturer;
- model or covered product family;
- electrical rating;
- critical components;
- construction;
- report number;
- standard;
- report status where relevant.
Then compare the production build:
- driver;
- LED board;
- PCB;
- wiring;
- insulation;
- connector;
- enclosure;
- gasket;
- mounting arrangement.
A report for Model A does not automatically cover Model B because the housings look alike. Check whether the actual model and production build are covered.
Batch Traceability
Keep enough production information to identify affected goods later:
- production batch;
- production date;
- driver batch;
- LED batch;
- fixture model;
- carton number.
If 600 fixtures are made in three recorded batches of 200 and only Batch B used an affected component, the first check can focus on those 200 units instead of all 600.
Packaging Check
Inspect the actual export cartons and packing materials.
- foam and inserts;
- protection around finished metal;
- glass protection;
- accessory bags;
- cable protection;
- movement inside the carton;
- carton closure;
- product identification;
- moisture protection where specified.
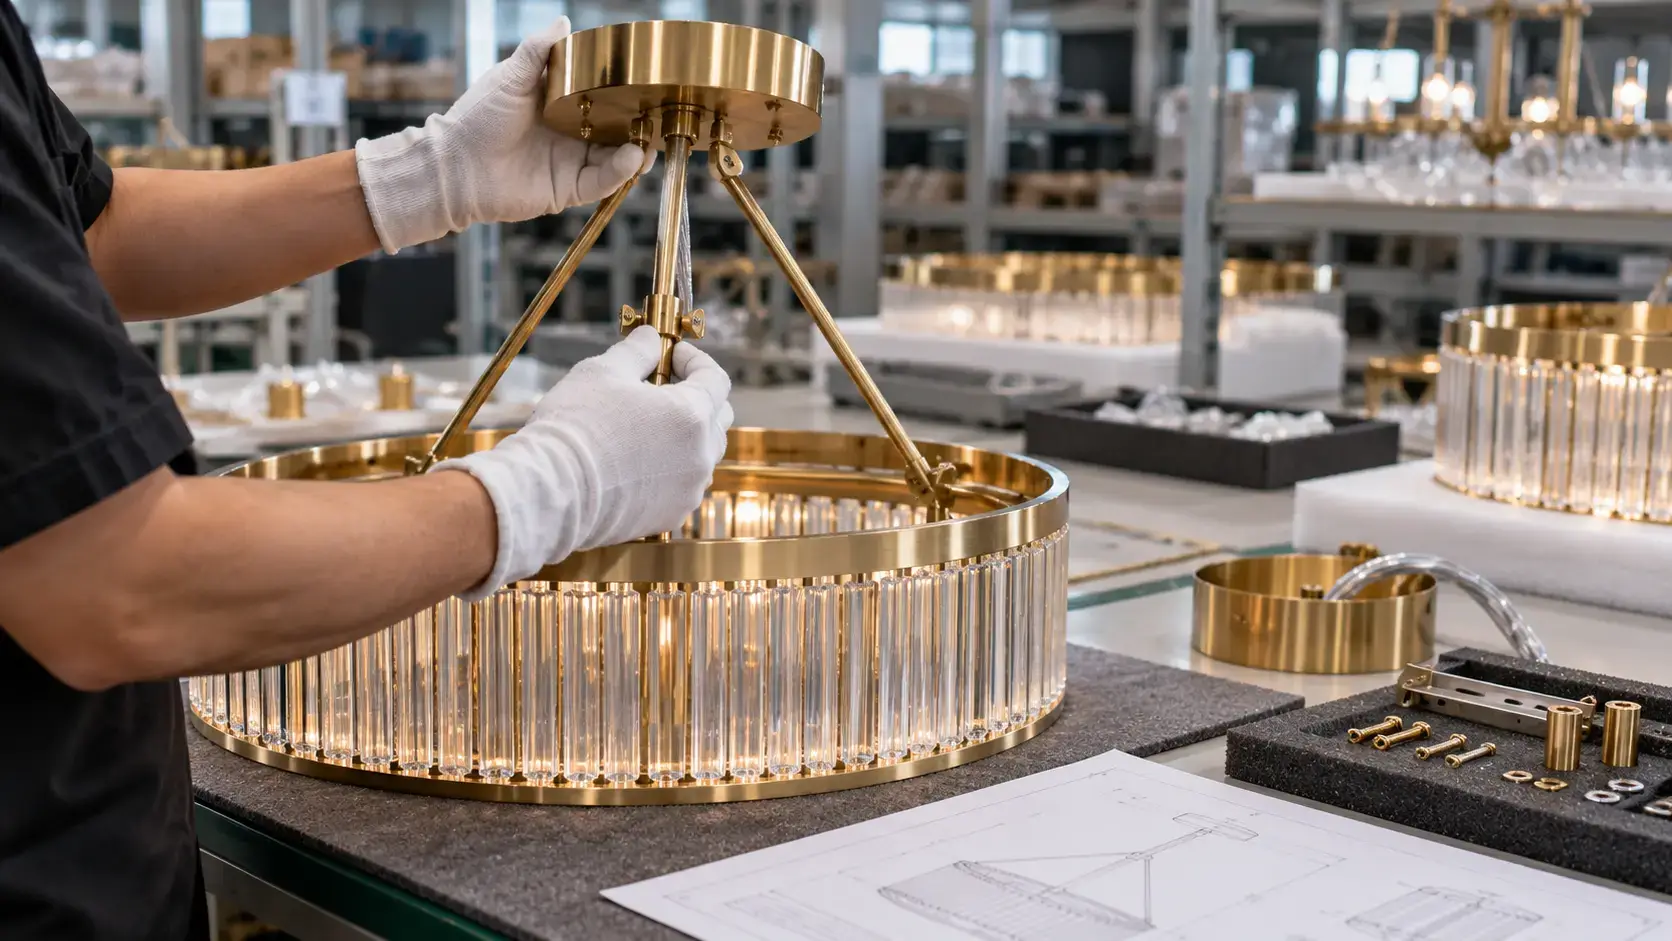
Keep screws, brackets, and other metal parts away from decorative surfaces. Glass should not carry the weight of the fixture.
If the approved packing method includes sealed bags, desiccant, moisture barriers, or protected hardware, make sure they are being used.
Open some fully packed cartons again. A lamp can pass cosmetic inspection and then be scratched or bent during packing.
For 240 wall lights packed 4 per carton, there are 60 cartons. A loose bracket inside each carton can damage many fixtures during handling and transport.
Chandelier Trial Assembly
For complex chandeliers, carry out a full or representative trial assembly where practical.
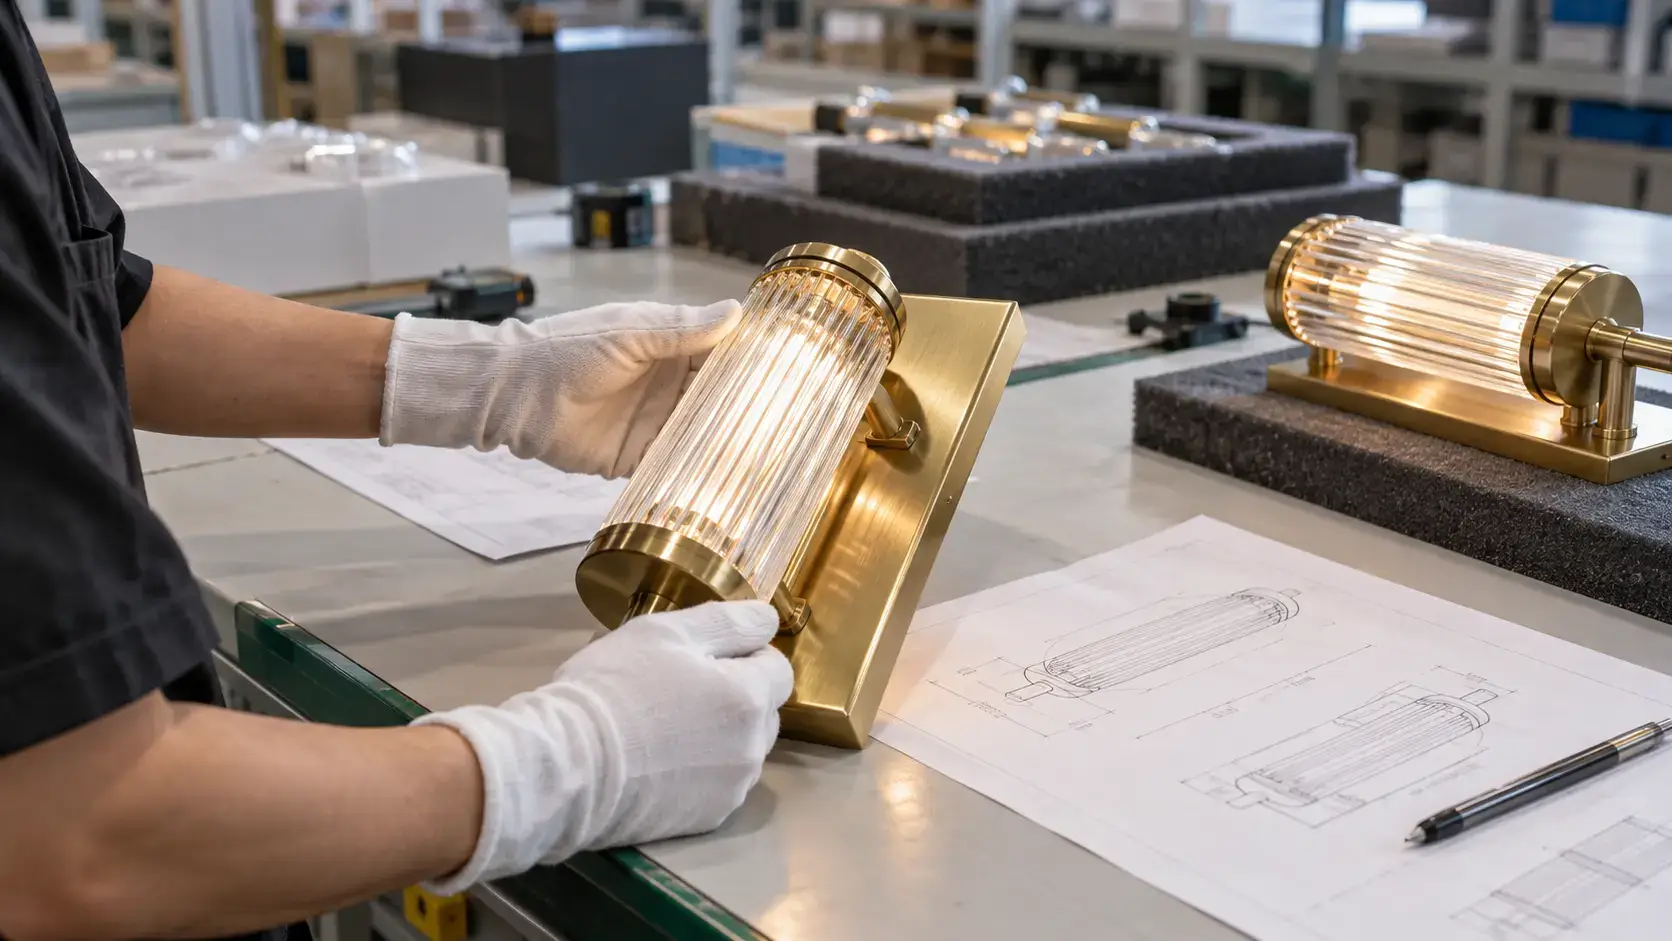
- parts count;
- part numbers;
- assembly sequence;
- wire routing;
- suspension parts;
- glass positions;
- crystal positions;
- finished dimensions.
A chandelier with 150 decorative parts needs clear part numbers that match the installation instructions.
If one chandelier is packed into 6 cartons, each carton should show the chandelier ID, carton number, and main parts inside.
Spares Check
Match the spare-parts list with the actual production product.
- drivers;
- LED boards;
- glass;
- shades;
- diffusers;
- crystals;
- decorative caps;
- special screws;
- mounting brackets.
If a project has 400 identical bedside lights and 10 spare drivers, those drivers should match production in output current, control method, connector, and other required details.
Give custom spare parts clear part numbers so the hotel can identify them later.
Inspection Evidence
A useful inspection report should show which sample produced each result.
Use Sample 01, Sample 02, Sample 03, and so on for:
- dimensions;
- CCT readings;
- driver photographs;
- LED-board photographs;
- internal wiring;
- functional tests;
- defects.
Write down the actual measurement instead of only writing “OK.”
Weak record:
Backplate too small.
Useful record:
Sample 07 — approved width: 135 mm; measured width: 125 mm; result: 10 mm below approved dimension.
Add a photo showing the fixture and measuring tool together.
Defect Classification
| Class | Use | Examples |
|---|---|---|
| Critical | Serious safety or legal risk | Hazardous live part, missing required protective bonding, unsafe suspension, serious insulation damage |
| Major | Stops normal installation/use or clearly differs from approval | Wrong finish, wrong CCT, failed dimming, broken glass, wrong bracket, installation dimension error |
| Minor | Limited effect during normal use | Small concealed cosmetic mark, minor non-functional print issue |
Judge the risk and effect, not only the physical size. A small loose conductor at a protective-earth terminal can be more serious than a 20 mm scratch on a hidden surface.
Corrective Action and Reinspection
For an important failure, record:
- affected SKU;
- exact defect;
- quantity found;
- possible affected quantity;
- required repair, sorting, or replacement;
- how corrected goods will be checked.
If the same problem appears more than once, check for:
- mixed warehouse stock;
- old BOM;
- wrong work instruction;
- unapproved component change;
- assembly-line mixing;
- one affected material batch.
A during-production inspection can catch these problems before the full order is completed.
If 2 of 20 opened fixtures use the wrong driver and warehouse records show that the same driver was sent to the line for several hours, find and sort the production from that period instead of replacing only the 2 drivers found.
Reworked products should be tested again. Changing one internal part can also affect wiring, protective earth, screws, gaskets, finish, or packing.
Shipment Release Decision
| Check | Release Requirement |
|---|---|
| Product | Matches final approved design, finish, dimensions, and SKU |
| Electrical | Approved parts and wiring; required production tests completed |
| Light | CCT, CRI, output, controls, and dimming meet the project requirement |
| Installation | Mounting parts, suspension, cable lengths, and site interfaces fit |
| Documents | Labels and required reports match the production version |
| Packaging | Finished goods and accessories are protected and correctly identified |
Pass: nothing important remains open under the agreed inspection criteria.
Hold: sorting, rework, testing, or missing documents must be finished before shipment.
Fail: serious defects are still open.
If the first inspection fails and the second passes, keep both reports. Check the original defect, the cause, what was sorted or repaired, and the final result together.
If 200 wall lights are already installed before one repeated mounting problem is found, the hotel may face up to 200 removals, 200 repairs or replacements, and 200 reinstallations. Fixing the same issue at the factory means handling it once.
FAQ
Can two hotel lights both marked 3000K still look different?
Yes. Different LED batches, optics, diffusers, shades, and drive currents can make two 3000K fixtures look different. Compare fixtures that will be used together in the same room, not only identical SKUs on separate factory tables.
What should I do if the factory changed the driver?
Compare the new driver with the approved BOM. Check input and output ratings, output current, dimming method, connector, physical fit, and the documents that apply to the finished product. If the change was not approved, do not treat it as a normal production variation.
When should a defect trigger 100% sorting?
Use 100% sorting when the problem may affect a wider part of the batch and sampling cannot reliably separate good and bad units. Examples include mixed voltage versions, wrong drivers, repeated mounting errors, or a component mix-up linked to one production period.
Should every custom hotel light be opened during inspection?
Not always. Cosmetic and dimensional checks can normally follow the agreed sampling plan. Internal checks are done on selected units unless the quality plan, safety risk, or a defect found during inspection gives a reason to expand the check.
What needs to be checked again after rework?
Retest anything the repair could have affected. Replacing a driver, for example, may also affect wiring, protective earth, screws, seals, function, and packaging. The repaired unit should pass the required checks before it goes back into finished stock.
Finally
Release the shipment only when production matches the final drawing, sample, BOM, finish, CCT, electrical build, mounting details, and packing specification. A 5–10 mm mounting error repeated across 300 guestrooms can create hundreds of site corrections. The same applies to component mistakes: if 2 of 20 opened fixtures contain the wrong part, identify which production may be affected before shipping. Keep sample numbers, measurements, component labels, batch records, photos, and reinspection results. The final decision should be based on the actual goods checked, not on the factory’s promise that the remaining units are the same.